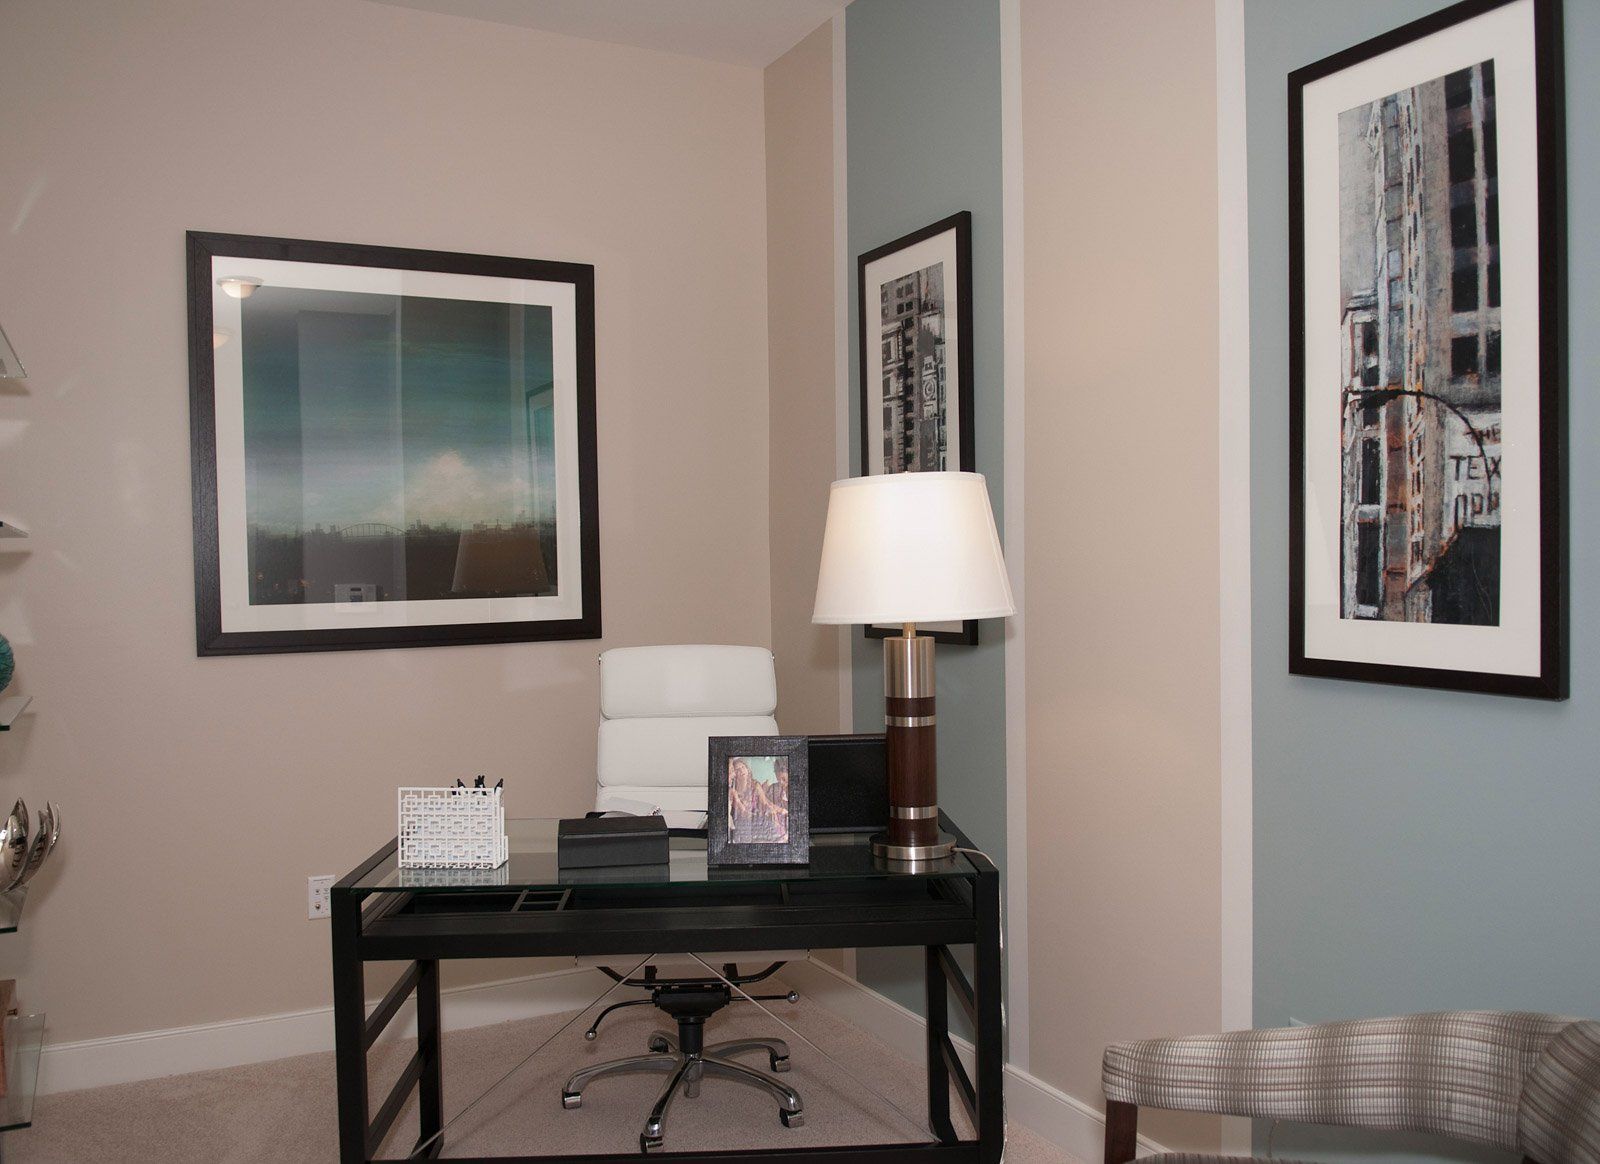
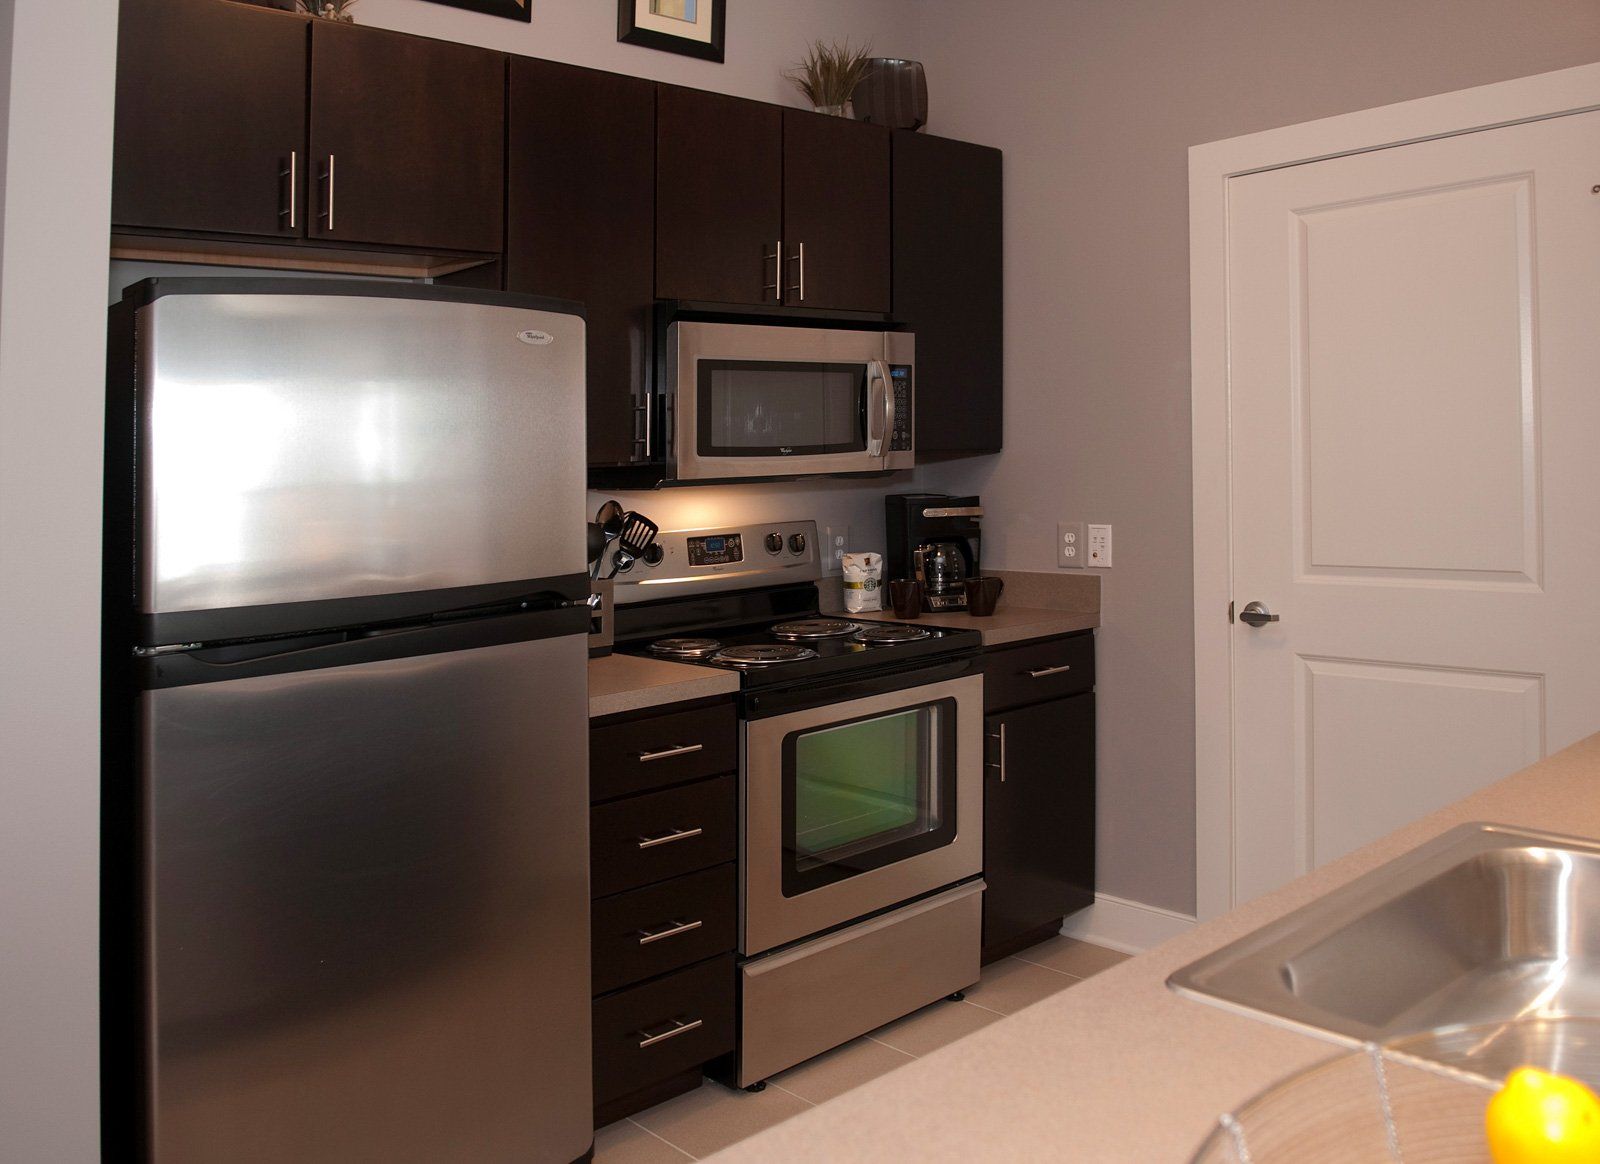
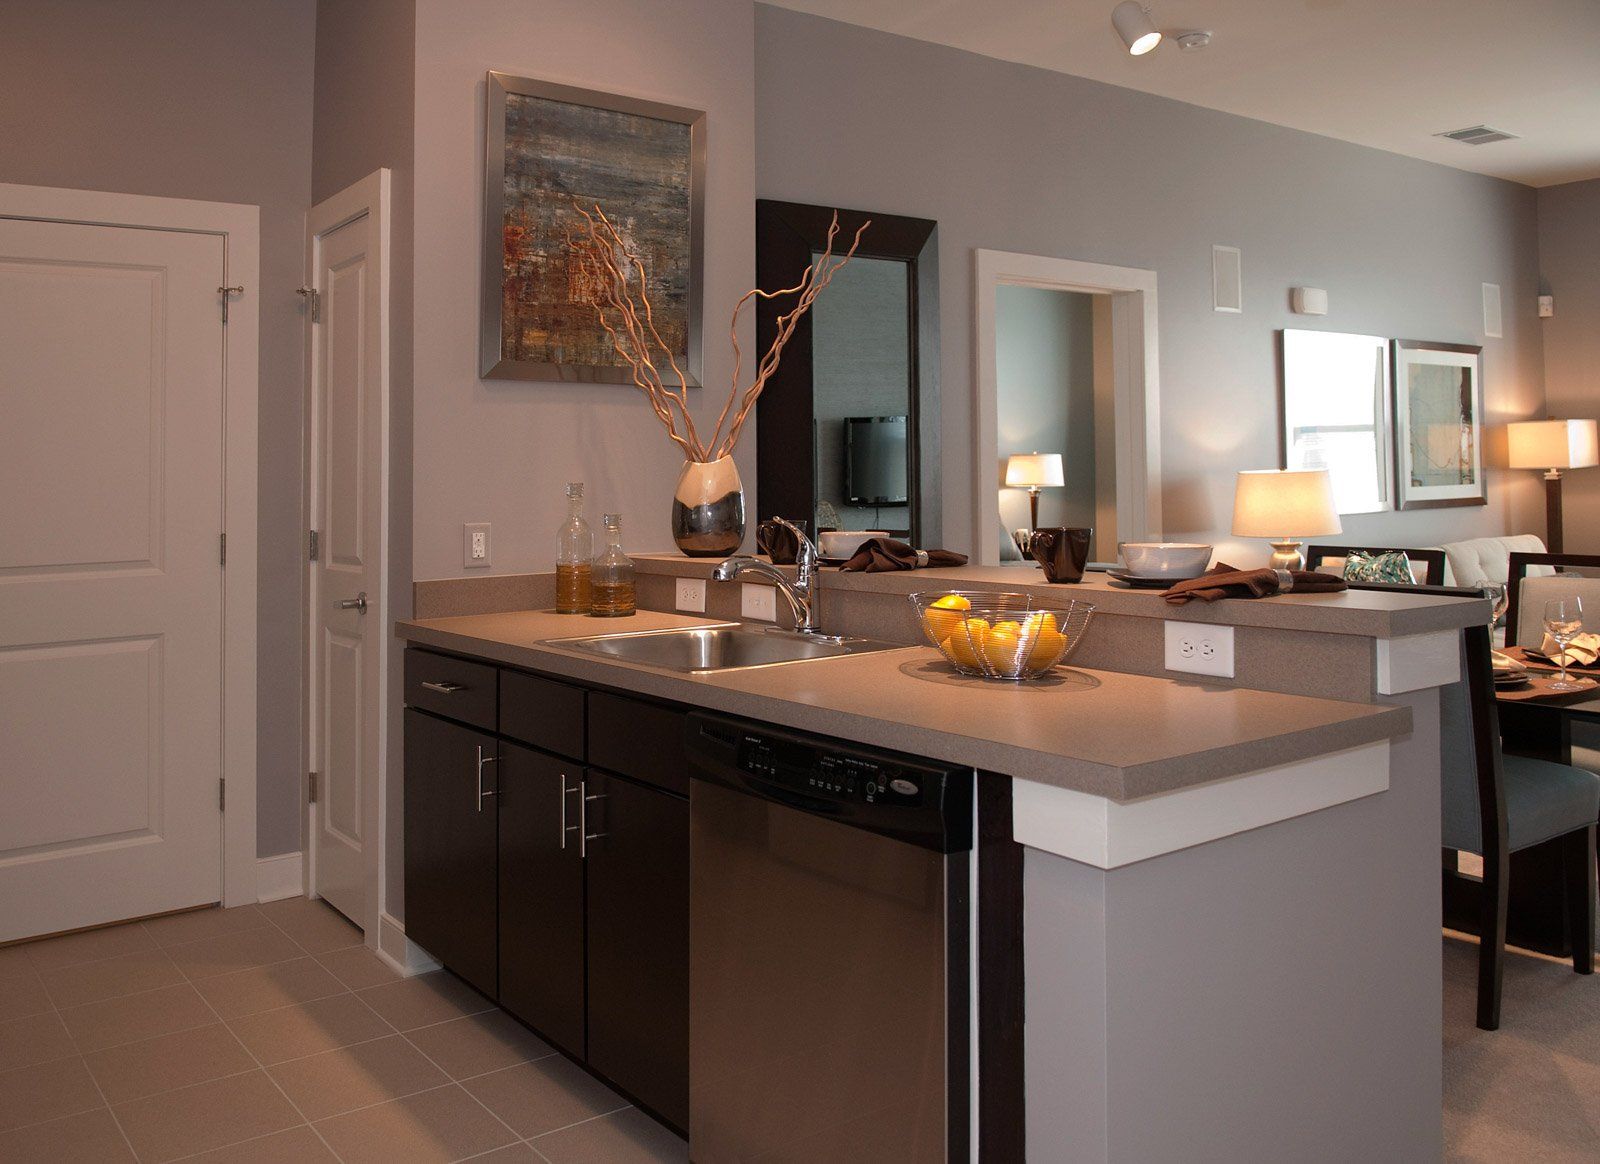
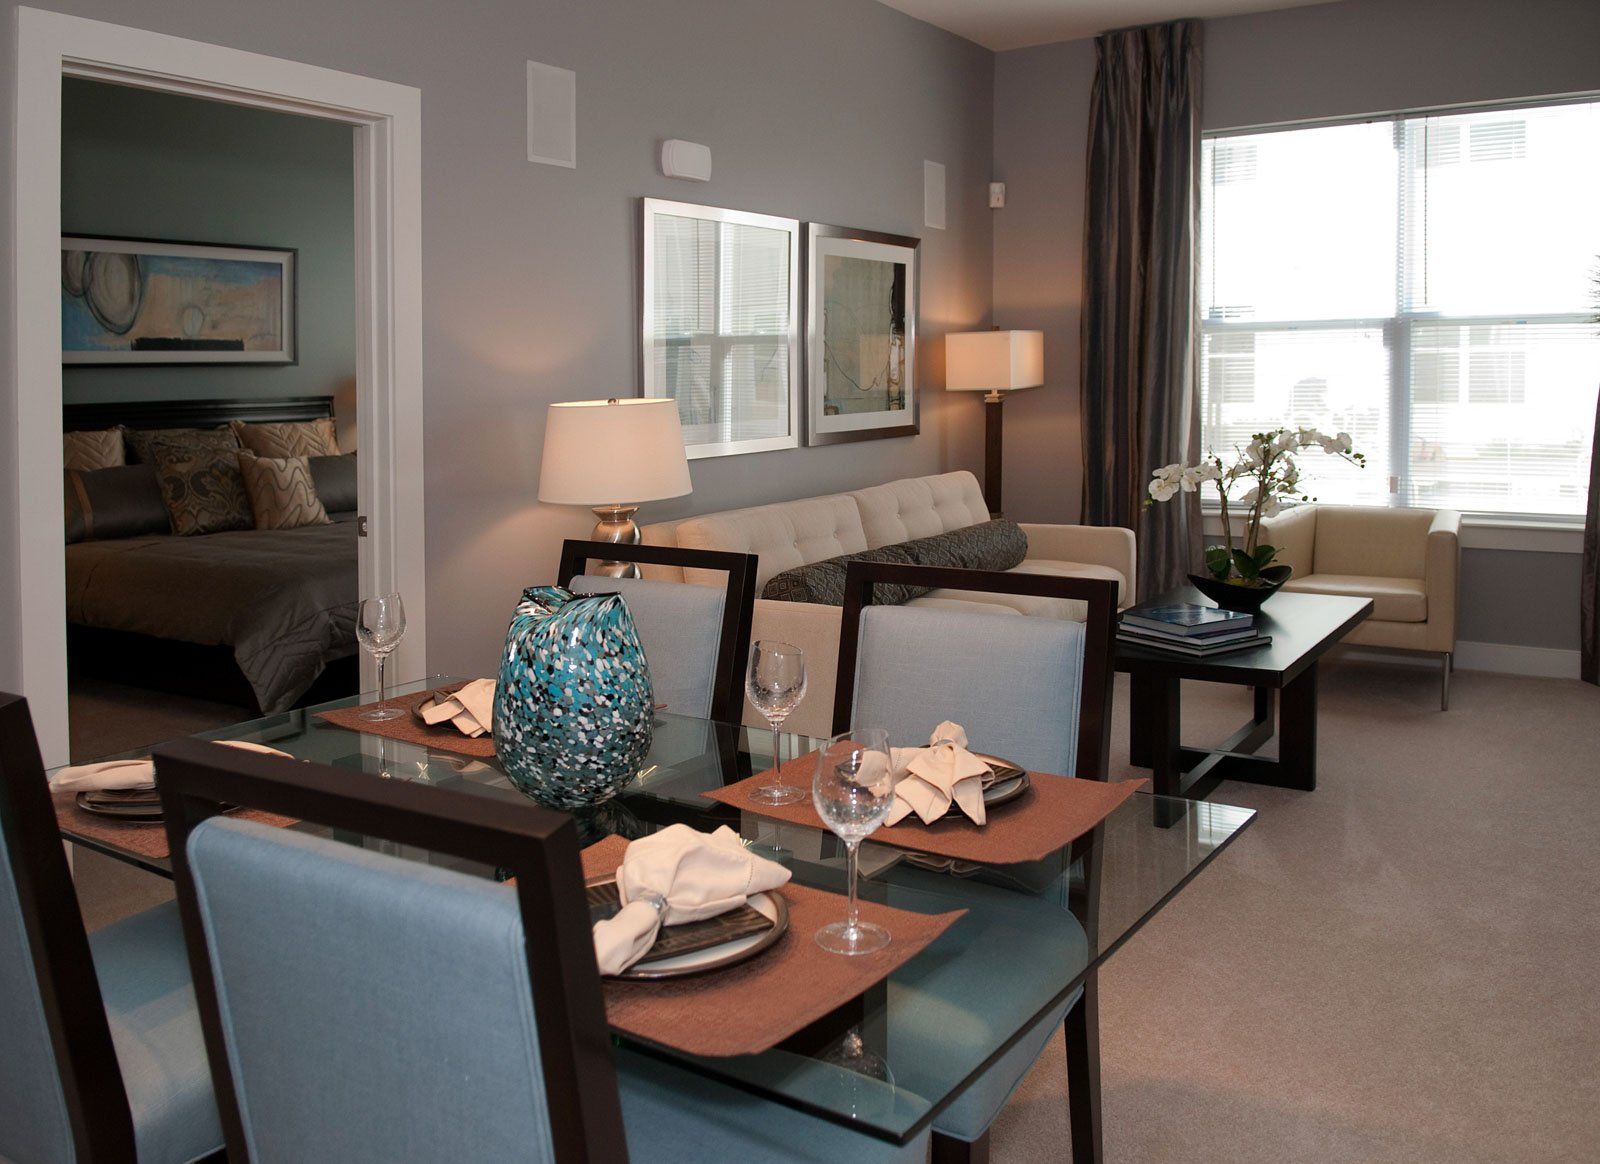
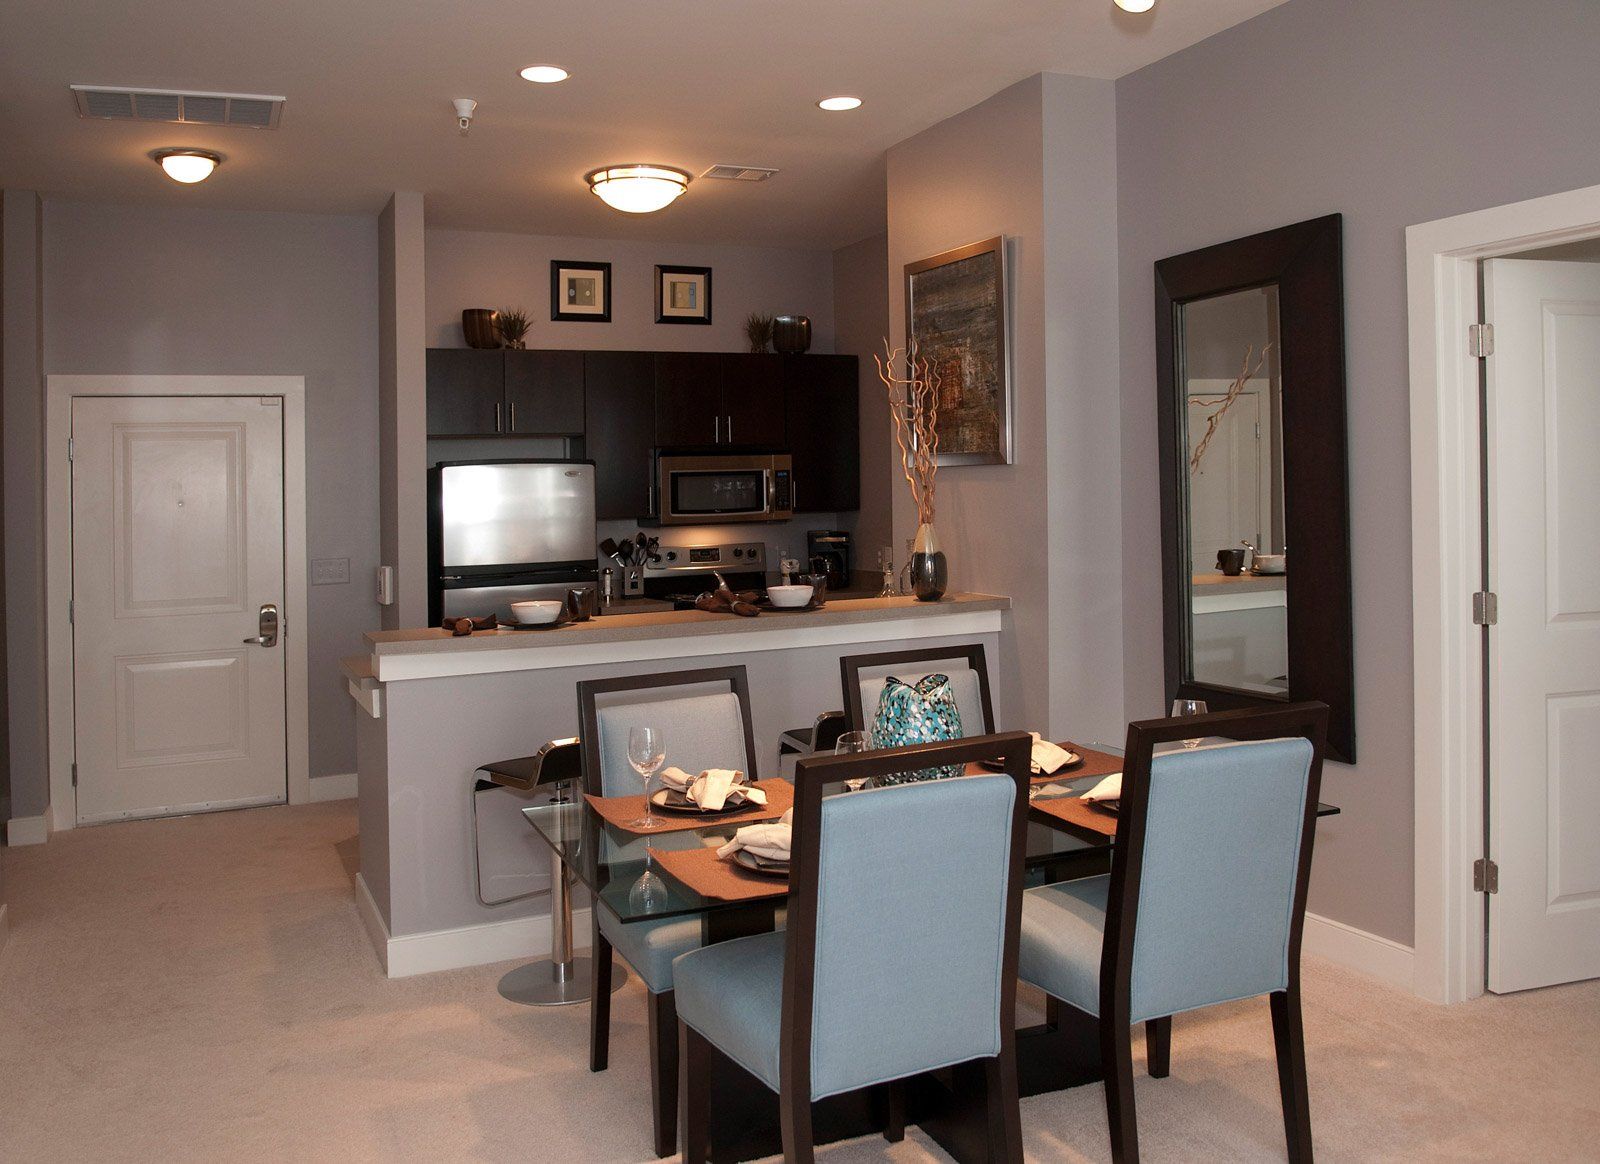
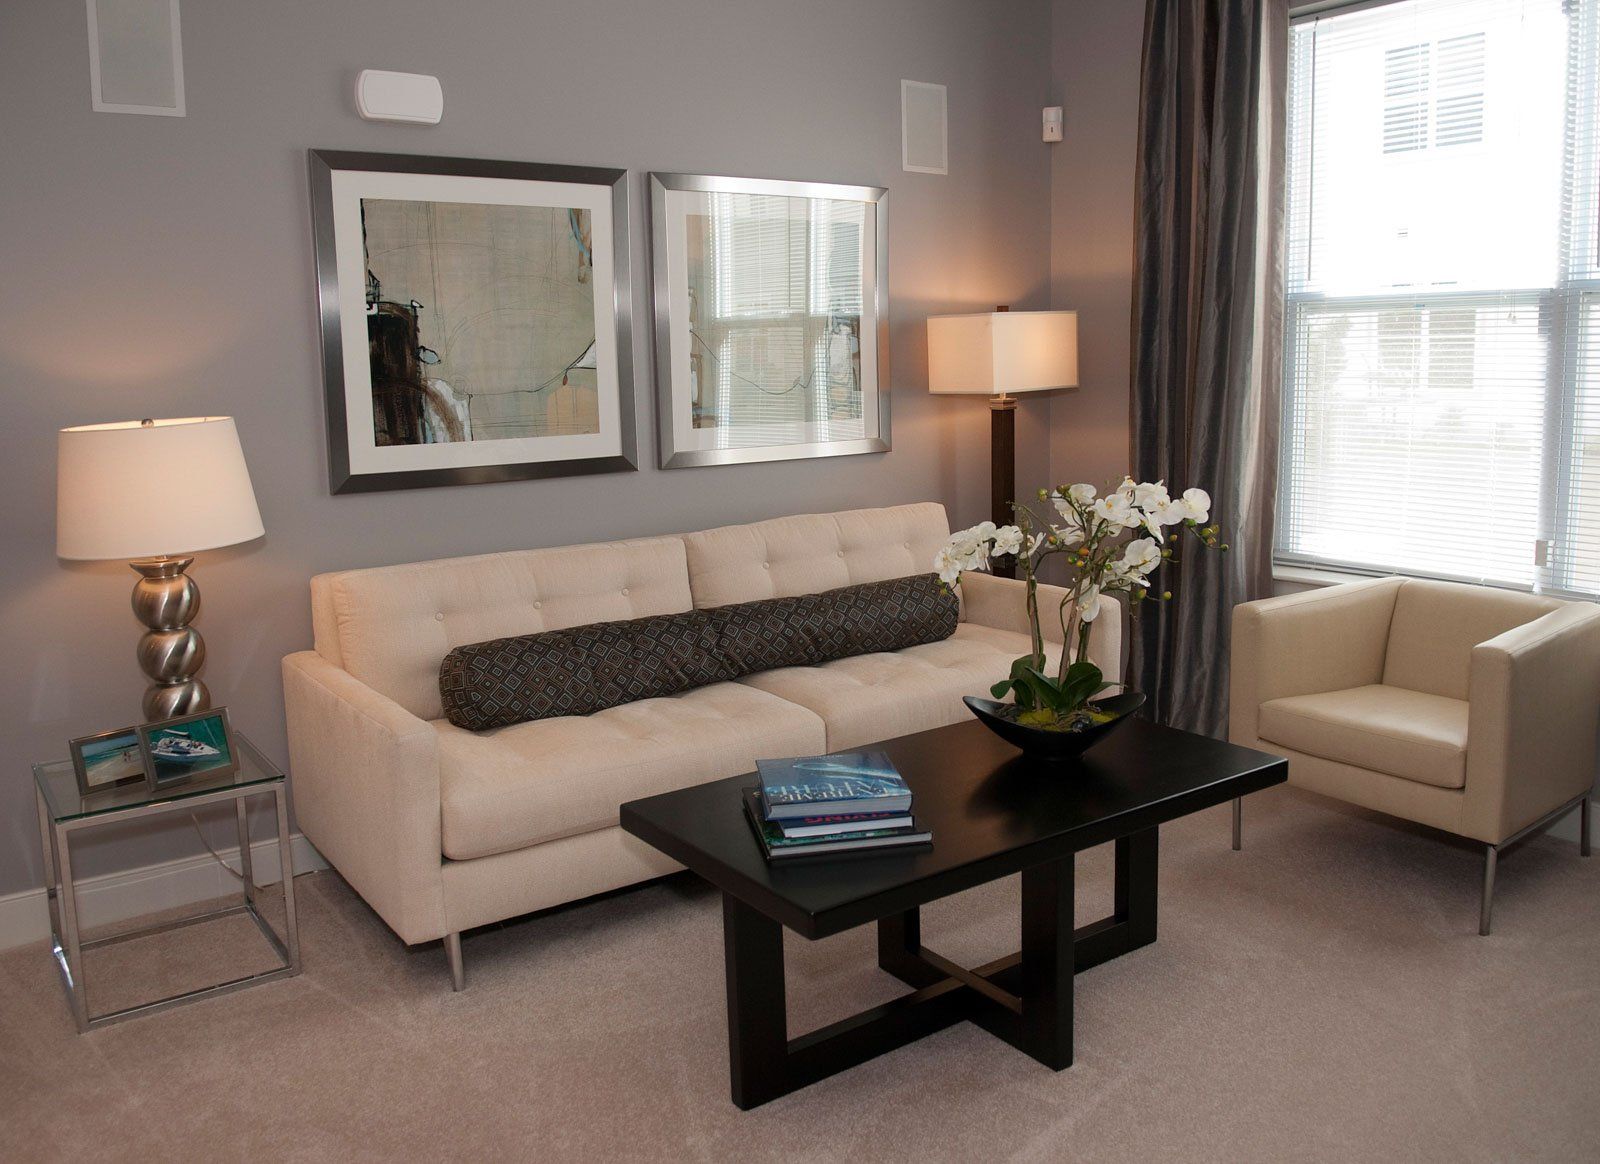
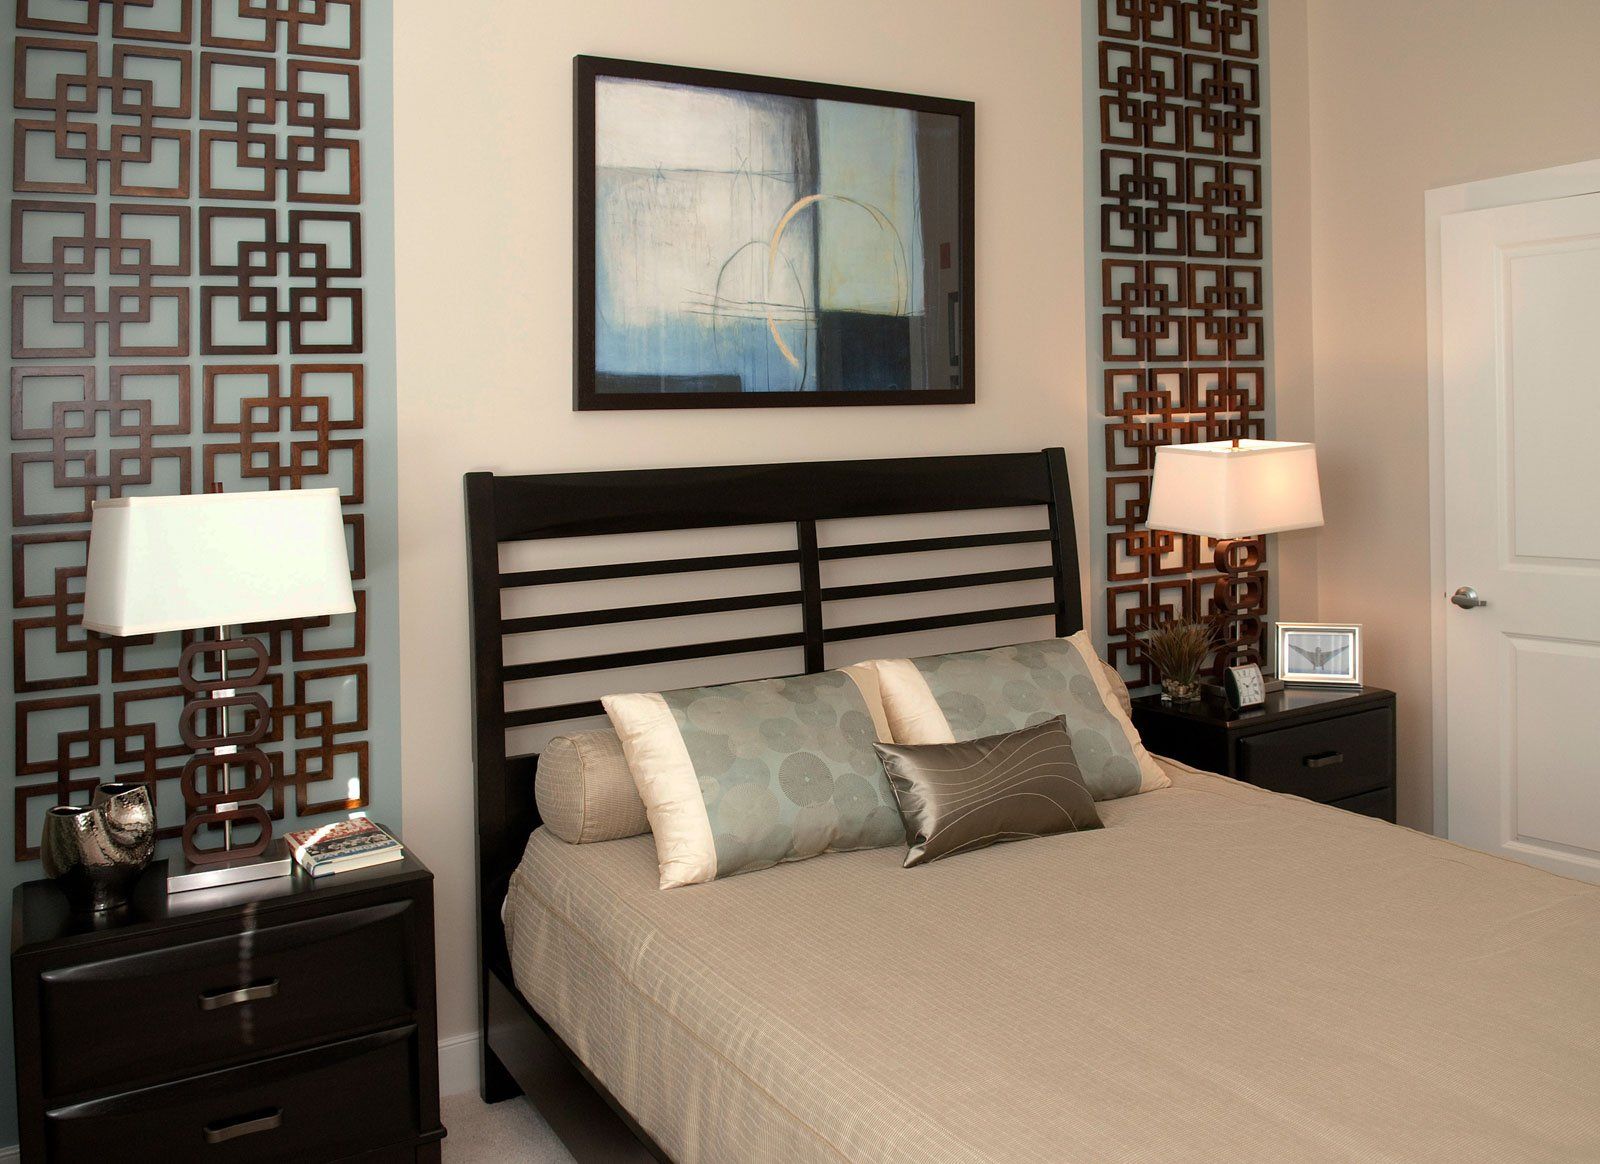
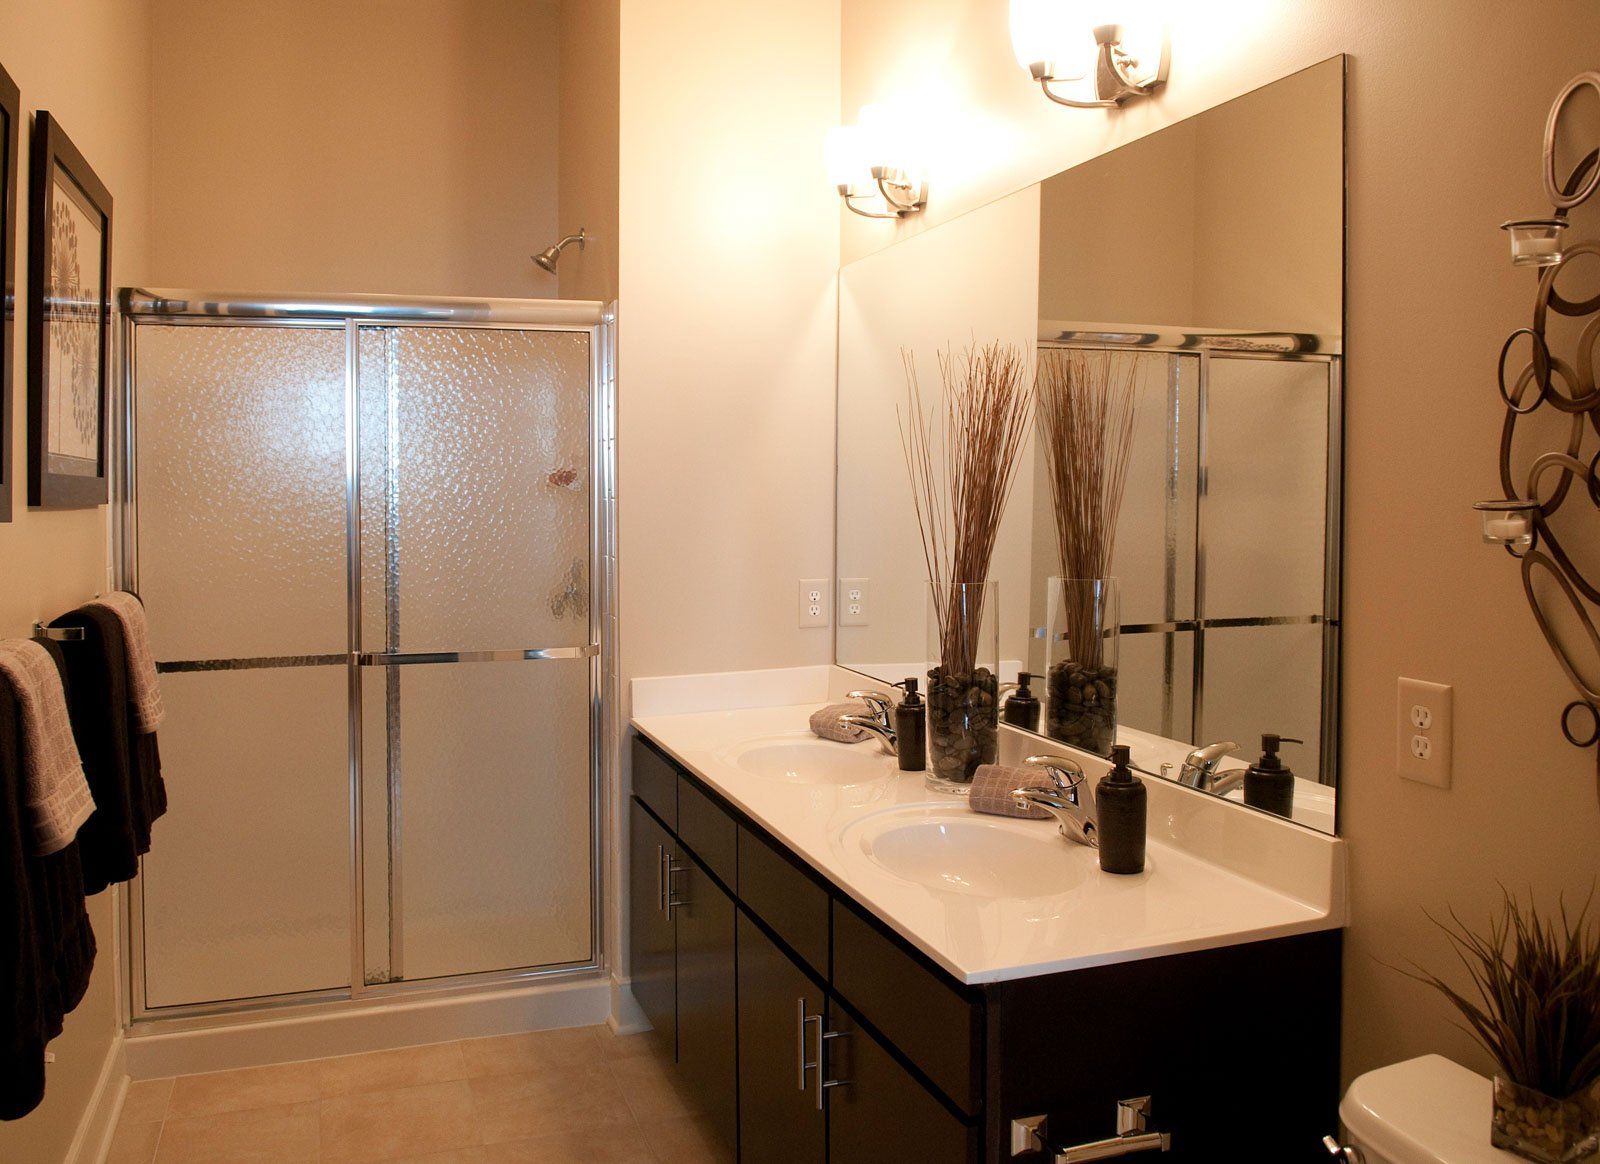
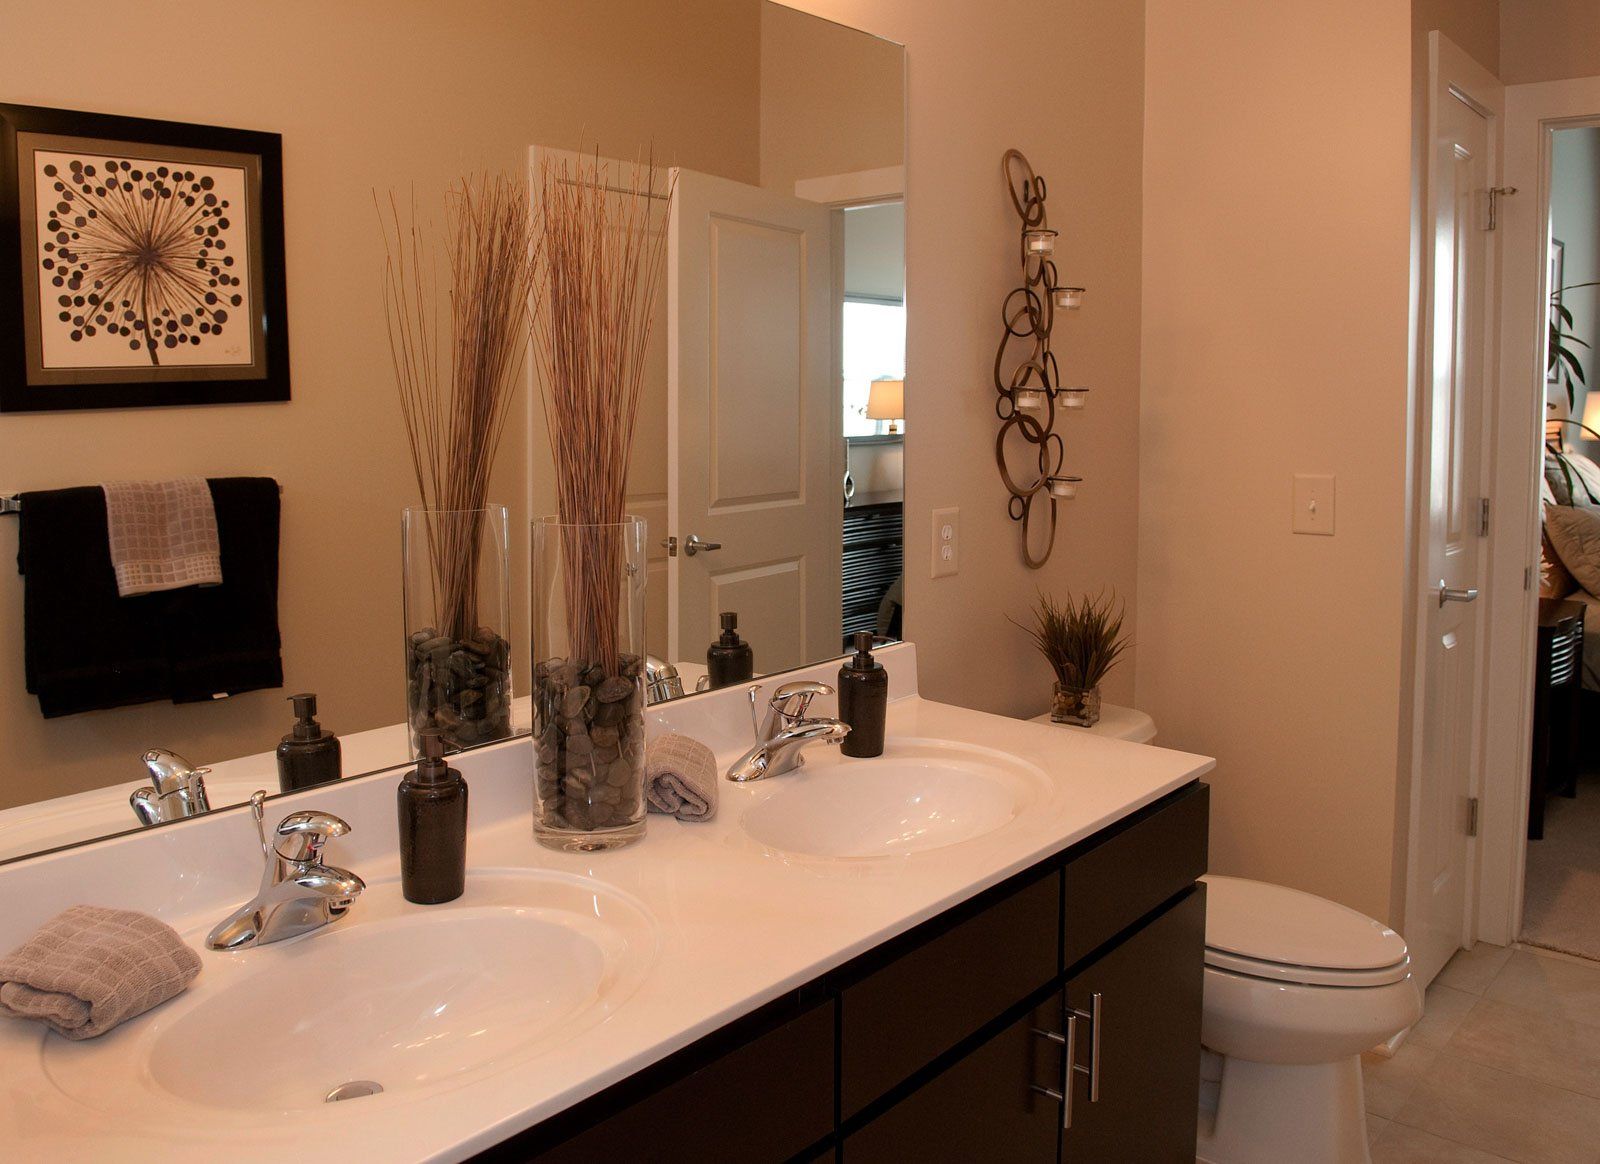
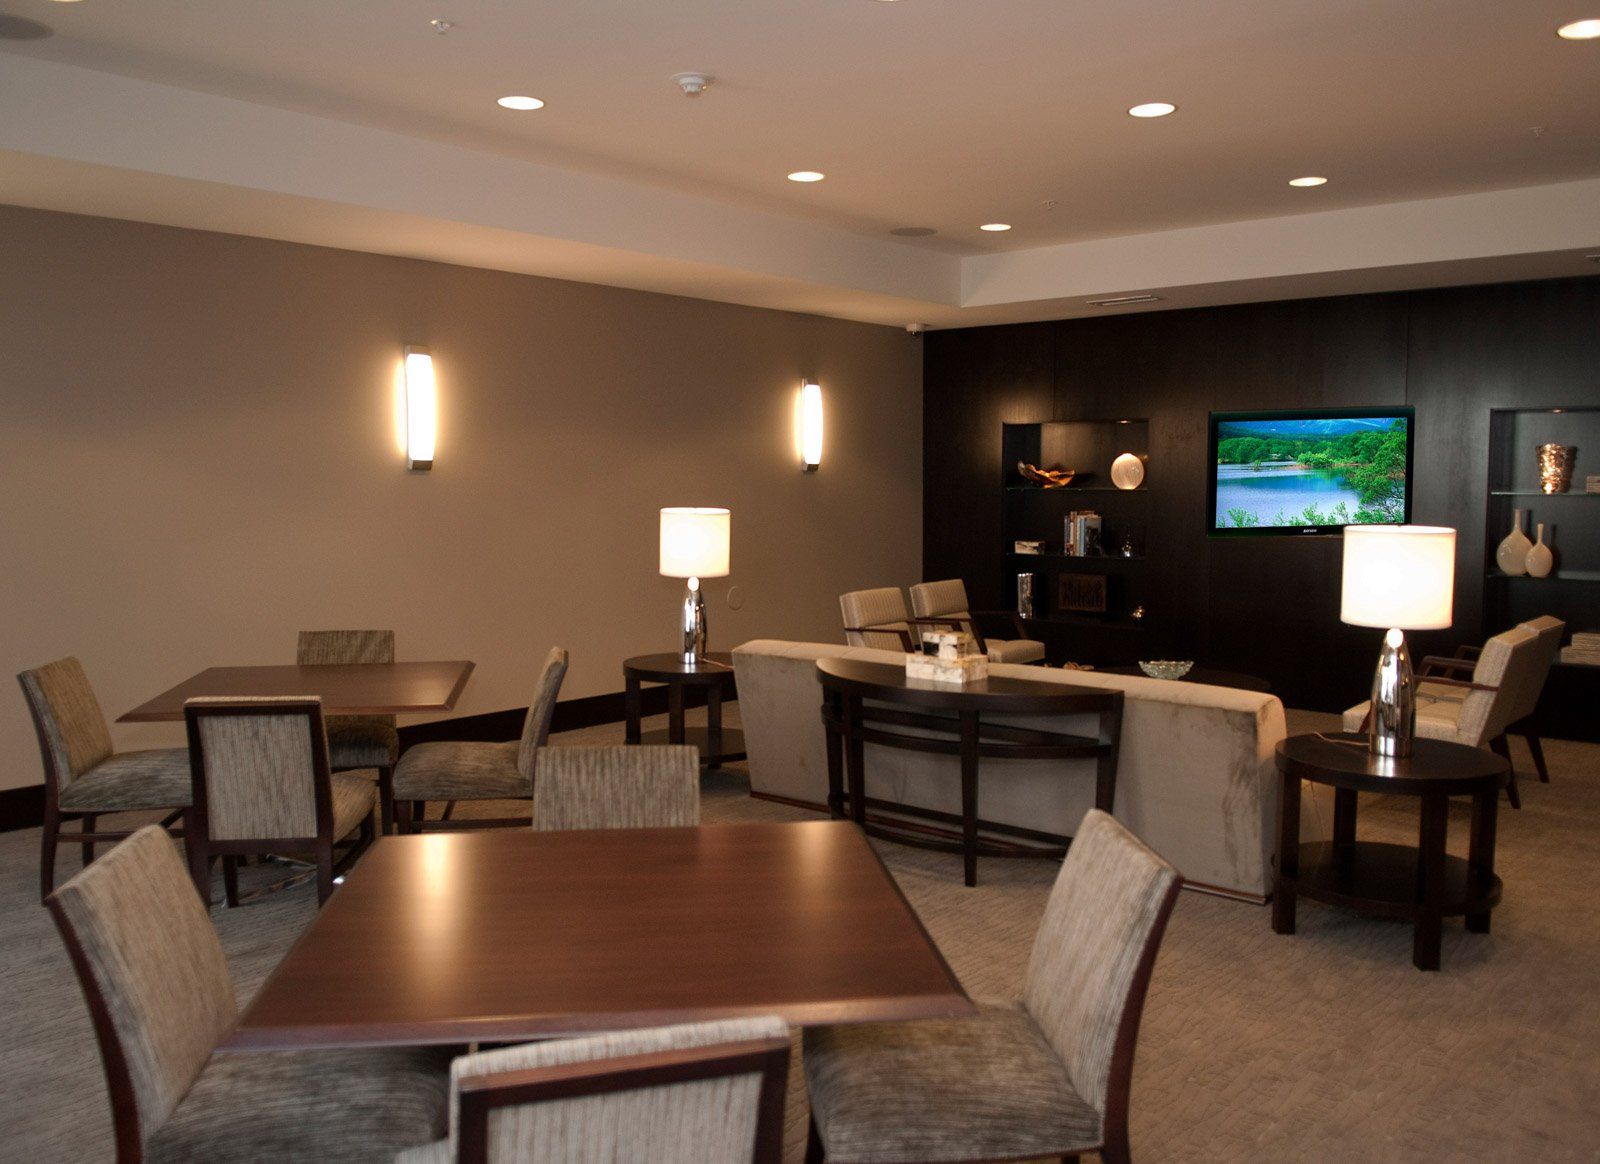
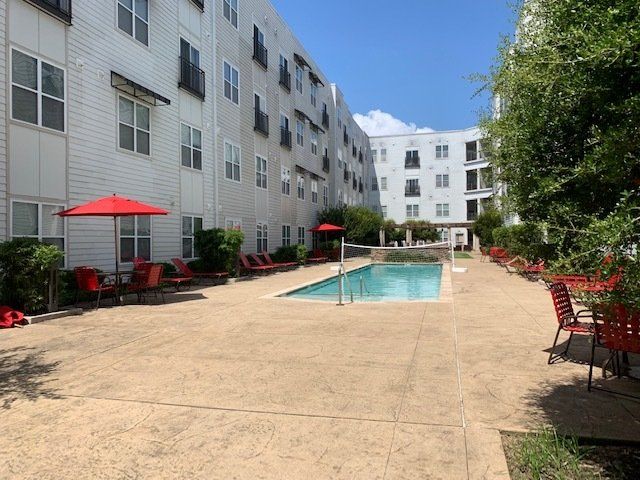
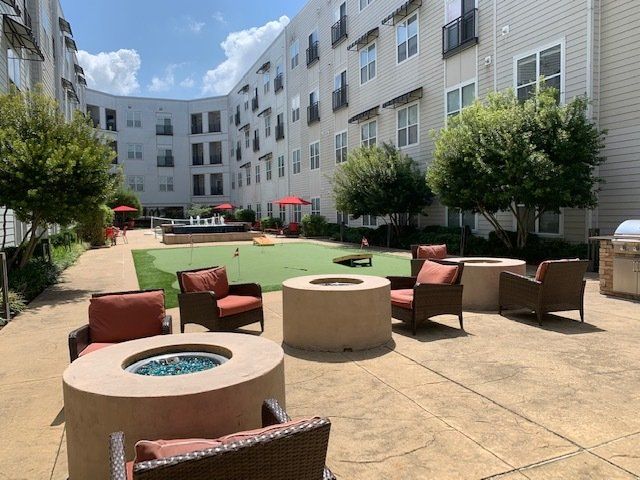
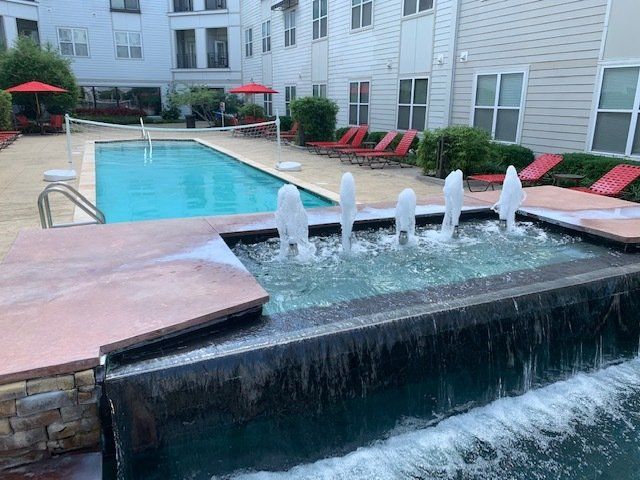
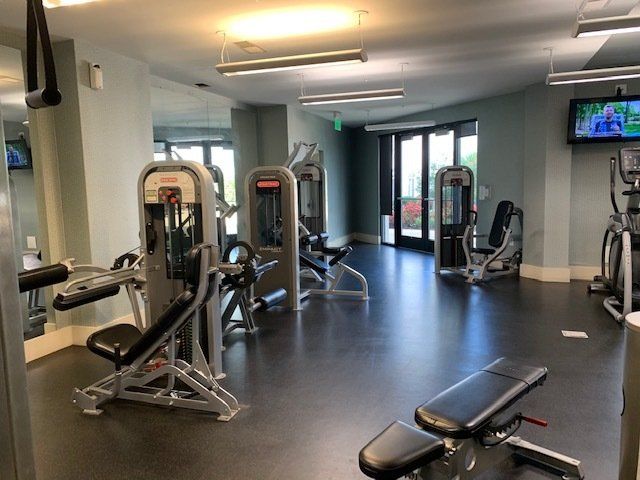
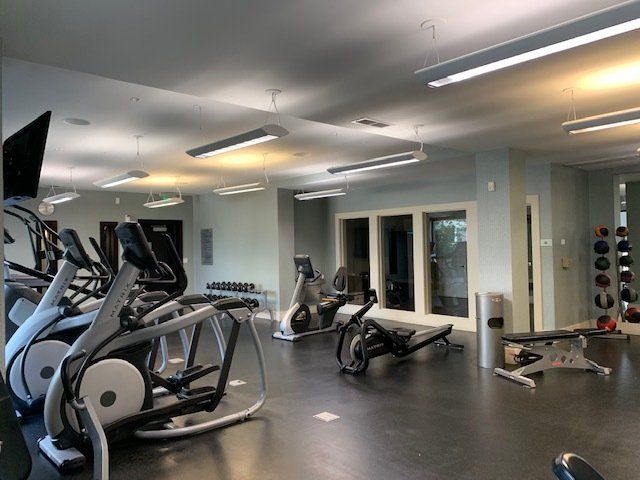
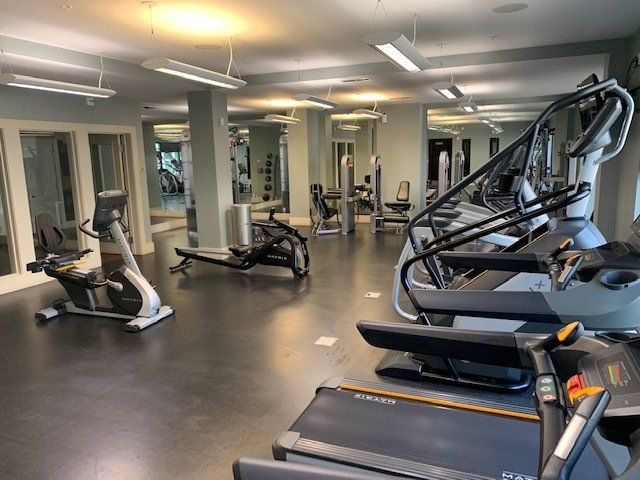
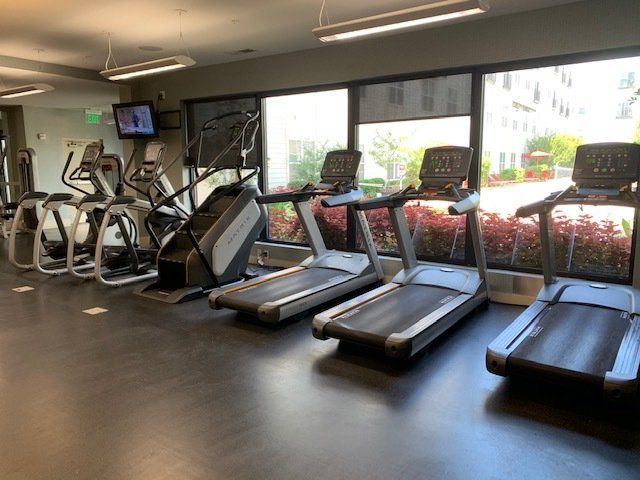
GALLERY
GALLERY


Contact Us
(757) 321-6411
(757) 321-6410
201@THEWHITMORECO.COM
201 W 21st St, Norfolk, VA 23517, United States
OFFICE HOURS: M-F 8:30 AM-5:00 PM
SATURDAY 9:00 AM -1:00 PM
Sundays Closed
Associations & Affiliations

OFFICE HOURS: M-F 8:30 AM-5:00 PM
SATURDAY 9:00 AM -1:00 PM
Sundays Closed